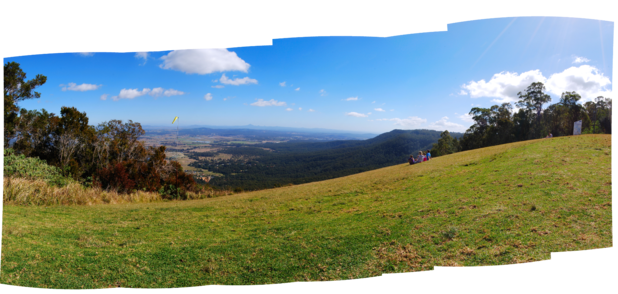
While on holidays in Australia I took a number of photo sequences to see if I could stitch them together into panoramic images. I used Hugins1, which is a cross platform application, to stitch the photos together. The basic steps are given in a hugin tutorial2. The following is the sequence of images used to generate a panoramic image.
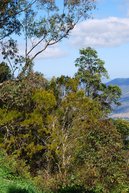
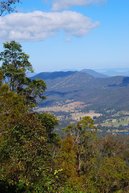
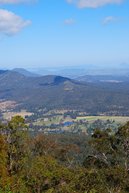
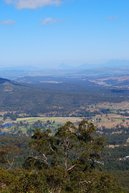
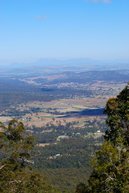
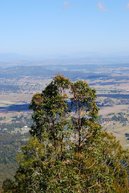
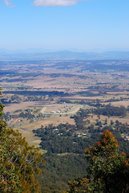
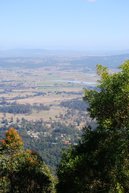
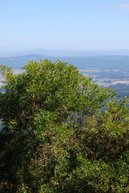
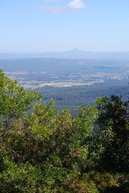
After loading these into hugin you can have them automatically aligned and stitched into an image. It is also possible to compensate for lens distortion. You can either do this manually3 or find the parameters in the lensfun database4. I was using a Nikkor 18-55mm f/3.5-5.6G ED AF-S DX so the lens parameters where.
| focal length | distortion(a) | barrel(b) | distortion© |
|---|---|---|---|
| 18 | 0.003409 | -0.019128 | 0 |
| 20 | 0.0042 | -0.018625 | 0 |
| 24 | 0.001149 | -0.008657 | 0 |
| 28 | 0 | -0.003041 | 0 |
| 31 | 0 | -0.003664 | 0 |
| 35 | 0 | -0.002371 | 0 |
| 45 | 0 | -0.001655 | 0 |
| 55 | 0 | -0.001004 | 0 |
This generated the following.

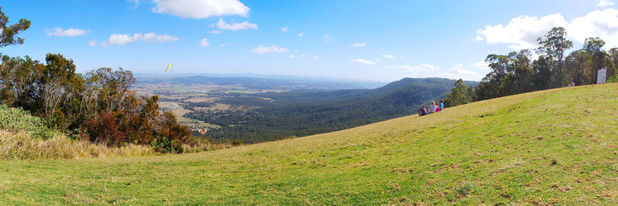
which after cropping resulted in.

Bellow is another panoramic photo I generated using the same process.
